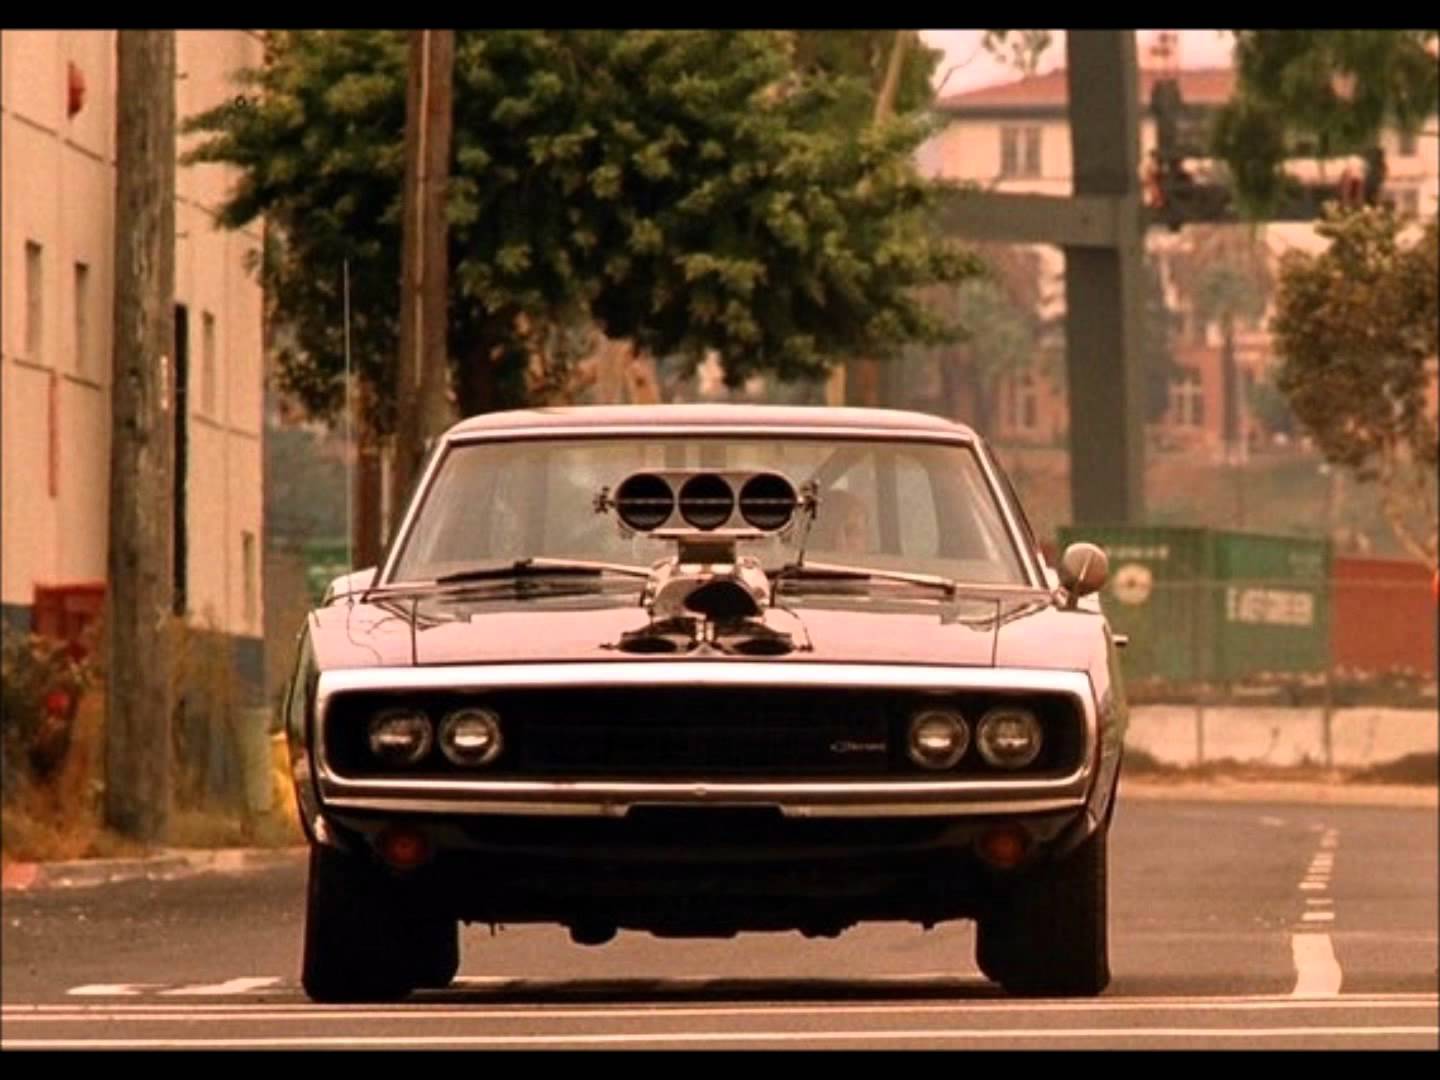
Bene ragazzi!! Soddisfatto della due giorni in fiera, dove il sabato ho conosciuto shen e Frah, e dove domenica ho rivisto con piacere Black Cat della sezione automodelli radiocomandati che, nonostante fa dinamico, gli piace molto seguire anche noi dello statico, vado ad iniziare il nostro wip sulla
Dodge Charger di Toretto.
Essendo sul tavolo della fiera, per le prime fasi sarà il classico montaggio standard, che sicuramente molti di voi hanno già fatto ma per chi ha avuto dei dubbi io lo ripropongo.
Il cofano
![[AUTO] Dodge Charger 70 R/T Fast and Furious - DeAgostini-img_20190303_163803.jpeg](https://www.modellismo.net/forum/attachments/statico-work-progress/321890d1551729563t-auto-dodge-charger-70-r-t-fast-furious-deagostini-img_20190303_163803.jpeg)
Montiamo la protezione del cofano
![[AUTO] Dodge Charger 70 R/T Fast and Furious - DeAgostini-img_20190303_163817.jpeg](https://www.modellismo.net/forum/attachments/statico-work-progress/321891d1551729578t-auto-dodge-charger-70-r-t-fast-furious-deagostini-img_20190303_163817.jpeg)
![[AUTO] Dodge Charger 70 R/T Fast and Furious - DeAgostini-img_20190303_163826.jpeg](https://www.modellismo.net/forum/attachments/statico-work-progress/321892d1551729597t-auto-dodge-charger-70-r-t-fast-furious-deagostini-img_20190303_163826.jpeg)
con le viti indicate uniamo le due parti
![[AUTO] Dodge Charger 70 R/T Fast and Furious - DeAgostini-img_20190303_163953.jpeg](https://www.modellismo.net/forum/attachments/statico-work-progress/321893d1551729613t-auto-dodge-charger-70-r-t-fast-furious-deagostini-img_20190303_163953.jpeg)
E fin qui e stato facile no?
Ora passiamo al convogliatore
![[AUTO] Dodge Charger 70 R/T Fast and Furious - DeAgostini-img_20190303_164350.jpeg](https://www.modellismo.net/forum/attachments/statico-work-progress/321894d1551729638t-auto-dodge-charger-70-r-t-fast-furious-deagostini-img_20190303_164350.jpeg)
Per prima cosa montiamo le farfalle sull'asta di comando
![[AUTO] Dodge Charger 70 R/T Fast and Furious - DeAgostini-img_20190303_164600.jpeg](https://www.modellismo.net/forum/attachments/statico-work-progress/321895d1551729652t-auto-dodge-charger-70-r-t-fast-furious-deagostini-img_20190303_164600.jpeg)
![[AUTO] Dodge Charger 70 R/T Fast and Furious - DeAgostini-img_20190303_164737.jpeg](https://www.modellismo.net/forum/attachments/statico-work-progress/321896d1551729684t-auto-dodge-charger-70-r-t-fast-furious-deagostini-img_20190303_164737.jpeg)
![[AUTO] Dodge Charger 70 R/T Fast and Furious - DeAgostini-img_20190303_165236.jpeg](https://www.modellismo.net/forum/attachments/statico-work-progress/321897d1551729696t-auto-dodge-charger-70-r-t-fast-furious-deagostini-img_20190303_165236.jpeg)
Le freccette delle farfalle devono indicare verso il basso
![[AUTO] Dodge Charger 70 R/T Fast and Furious - DeAgostini-img_20190303_165602.jpeg](https://www.modellismo.net/forum/attachments/statico-work-progress/321898d1551729708t-auto-dodge-charger-70-r-t-fast-furious-deagostini-img_20190303_165602.jpeg)
prendiamo la parte superiore del convogliatore e montiamo le bocche di aspirazione con le apposite viti
![[AUTO] Dodge Charger 70 R/T Fast and Furious - DeAgostini-img_20190303_164358.jpeg](https://www.modellismo.net/forum/attachments/statico-work-progress/321899d1551729739t-auto-dodge-charger-70-r-t-fast-furious-deagostini-img_20190303_164358.jpeg)
![[AUTO] Dodge Charger 70 R/T Fast and Furious - DeAgostini-img_20190303_164416.jpeg](https://www.modellismo.net/forum/attachments/statico-work-progress/321900d1551729752t-auto-dodge-charger-70-r-t-fast-furious-deagostini-img_20190303_164416.jpeg)
![[AUTO] Dodge Charger 70 R/T Fast and Furious - DeAgostini-img_20190303_164508.jpeg](https://www.modellismo.net/forum/attachments/statico-work-progress/321901d1551729768t-auto-dodge-charger-70-r-t-fast-furious-deagostini-img_20190303_164508.jpeg)
Ora inseriamo le farfalle
![[AUTO] Dodge Charger 70 R/T Fast and Furious - DeAgostini-img_20190303_165437.jpeg](https://www.modellismo.net/forum/attachments/statico-work-progress/321902d1551729787t-auto-dodge-charger-70-r-t-fast-furious-deagostini-img_20190303_165437.jpeg)
Prima di chiudere il convogliatore, sulla parte inferiore va montata la cornice di giuntura con il compressore
![[AUTO] Dodge Charger 70 R/T Fast and Furious - DeAgostini-img_20190303_165807.jpeg](https://www.modellismo.net/forum/attachments/statico-work-progress/321903d1551729813t-auto-dodge-charger-70-r-t-fast-furious-deagostini-img_20190303_165807.jpeg)
Quindi facciamo combaciare i due pin del pezzo di convogliatore, con i due fori posti centralmente alla cornice
![[AUTO] Dodge Charger 70 R/T Fast and Furious - DeAgostini-img_20190303_165849.jpeg](https://www.modellismo.net/forum/attachments/statico-work-progress/321904d1551729835t-auto-dodge-charger-70-r-t-fast-furious-deagostini-img_20190303_165849.jpeg)
![[AUTO] Dodge Charger 70 R/T Fast and Furious - DeAgostini-img_20190303_165900.jpeg](https://www.modellismo.net/forum/attachments/statico-work-progress/321905d1551729848t-auto-dodge-charger-70-r-t-fast-furious-deagostini-img_20190303_165900.jpeg)
![[AUTO] Dodge Charger 70 R/T Fast and Furious - DeAgostini-img_20190303_165912.jpeg](https://www.modellismo.net/forum/attachments/statico-work-progress/321906d1551729859t-auto-dodge-charger-70-r-t-fast-furious-deagostini-img_20190303_165912.jpeg)
Giriamo dall'altra parte e blocchiamo con le viti.
![[AUTO] Dodge Charger 70 R/T Fast and Furious - DeAgostini-img_20190303_170026.jpeg](https://www.modellismo.net/forum/attachments/statico-work-progress/321907d1551729882t-auto-dodge-charger-70-r-t-fast-furious-deagostini-img_20190303_170026.jpeg)
Ora possiamo chiudere il convogliatore
![[AUTO] Dodge Charger 70 R/T Fast and Furious - DeAgostini-img_20190303_170117.jpeg](https://www.modellismo.net/forum/attachments/statico-work-progress/321908d1551729919t-auto-dodge-charger-70-r-t-fast-furious-deagostini-img_20190303_170117.jpeg)
Fare attenzione solo che al momento della chiusura, le farfalle siano dritte a chiudere le tre le bocche.
![[AUTO] Dodge Charger 70 R/T Fast and Furious - DeAgostini-img_20190303_165641.jpeg](https://www.modellismo.net/forum/attachments/statico-work-progress/321909d1551729937t-auto-dodge-charger-70-r-t-fast-furious-deagostini-img_20190303_165641.jpeg)
![[AUTO] Dodge Charger 70 R/T Fast and Furious - DeAgostini-img_20190303_170151.jpeg](https://www.modellismo.net/forum/attachments/statico-work-progress/321910d1551729961t-auto-dodge-charger-70-r-t-fast-furious-deagostini-img_20190303_170151.jpeg)
![[AUTO] Dodge Charger 70 R/T Fast and Furious - DeAgostini-img_20190303_170347.jpeg](https://www.modellismo.net/forum/attachments/statico-work-progress/321911d1551729980t-auto-dodge-charger-70-r-t-fast-furious-deagostini-img_20190303_170347.jpeg)
Non dimentichiamo di montare questo ultimo componente sulla parte posteriore del convogliatore
![[AUTO] Dodge Charger 70 R/T Fast and Furious - DeAgostini-img_20190303_171124.jpeg](https://www.modellismo.net/forum/attachments/statico-work-progress/321912d1551729994t-auto-dodge-charger-70-r-t-fast-furious-deagostini-img_20190303_171124.jpeg)
![[AUTO] Dodge Charger 70 R/T Fast and Furious - DeAgostini-img_20190303_171206.jpeg](https://www.modellismo.net/forum/attachments/statico-work-progress/321913d1551730005t-auto-dodge-charger-70-r-t-fast-furious-deagostini-img_20190303_171206.jpeg)
![[AUTO] Dodge Charger 70 R/T Fast and Furious - DeAgostini-img_20190303_171233.jpeg](https://www.modellismo.net/forum/attachments/statico-work-progress/321914d1551730016t-auto-dodge-charger-70-r-t-fast-furious-deagostini-img_20190303_171233.jpeg)
Stay Tuned

![[AUTO] Dodge Charger 70 R/T Fast and Furious - DeAgostini](https://www.modellismo.net/forum/iconimages/statico-work-progress/auto-dodge-charger-70-r-t-fast-furious-deagostini_ltr.gif)


![[AUTO] Dodge Charger 70 R/T Fast and Furious - DeAgostini-img_20190303_115336.jpeg](https://www.modellismo.net/forum/attachments/statico-work-progress/321785d1551611028-auto-dodge-charger-70-r-t-fast-furious-deagostini-img_20190303_115336.jpeg)
![[AUTO] Dodge Charger 70 R/T Fast and Furious - DeAgostini-img_20190303_163803.jpeg](https://www.modellismo.net/forum/attachments/statico-work-progress/321890d1551729563-auto-dodge-charger-70-r-t-fast-furious-deagostini-img_20190303_163803.jpeg)
![[AUTO] Dodge Charger 70 R/T Fast and Furious - DeAgostini-img_20190303_163817.jpeg](https://www.modellismo.net/forum/attachments/statico-work-progress/321891d1551729578-auto-dodge-charger-70-r-t-fast-furious-deagostini-img_20190303_163817.jpeg)
![[AUTO] Dodge Charger 70 R/T Fast and Furious - DeAgostini-img_20190303_163826.jpeg](https://www.modellismo.net/forum/attachments/statico-work-progress/321892d1551729597-auto-dodge-charger-70-r-t-fast-furious-deagostini-img_20190303_163826.jpeg)
![[AUTO] Dodge Charger 70 R/T Fast and Furious - DeAgostini-img_20190303_163953.jpeg](https://www.modellismo.net/forum/attachments/statico-work-progress/321893d1551729613-auto-dodge-charger-70-r-t-fast-furious-deagostini-img_20190303_163953.jpeg)
![[AUTO] Dodge Charger 70 R/T Fast and Furious - DeAgostini-img_20190303_164350.jpeg](https://www.modellismo.net/forum/attachments/statico-work-progress/321894d1551729638-auto-dodge-charger-70-r-t-fast-furious-deagostini-img_20190303_164350.jpeg)
![[AUTO] Dodge Charger 70 R/T Fast and Furious - DeAgostini-img_20190303_164600.jpeg](https://www.modellismo.net/forum/attachments/statico-work-progress/321895d1551729652-auto-dodge-charger-70-r-t-fast-furious-deagostini-img_20190303_164600.jpeg)
![[AUTO] Dodge Charger 70 R/T Fast and Furious - DeAgostini-img_20190303_164737.jpeg](https://www.modellismo.net/forum/attachments/statico-work-progress/321896d1551729684-auto-dodge-charger-70-r-t-fast-furious-deagostini-img_20190303_164737.jpeg)
![[AUTO] Dodge Charger 70 R/T Fast and Furious - DeAgostini-img_20190303_165236.jpeg](https://www.modellismo.net/forum/attachments/statico-work-progress/321897d1551729696-auto-dodge-charger-70-r-t-fast-furious-deagostini-img_20190303_165236.jpeg)
![[AUTO] Dodge Charger 70 R/T Fast and Furious - DeAgostini-img_20190303_165602.jpeg](https://www.modellismo.net/forum/attachments/statico-work-progress/321898d1551729708-auto-dodge-charger-70-r-t-fast-furious-deagostini-img_20190303_165602.jpeg)
![[AUTO] Dodge Charger 70 R/T Fast and Furious - DeAgostini-img_20190303_164358.jpeg](https://www.modellismo.net/forum/attachments/statico-work-progress/321899d1551729739-auto-dodge-charger-70-r-t-fast-furious-deagostini-img_20190303_164358.jpeg)
![[AUTO] Dodge Charger 70 R/T Fast and Furious - DeAgostini-img_20190303_164416.jpeg](https://www.modellismo.net/forum/attachments/statico-work-progress/321900d1551729752-auto-dodge-charger-70-r-t-fast-furious-deagostini-img_20190303_164416.jpeg)
![[AUTO] Dodge Charger 70 R/T Fast and Furious - DeAgostini-img_20190303_164508.jpeg](https://www.modellismo.net/forum/attachments/statico-work-progress/321901d1551729768-auto-dodge-charger-70-r-t-fast-furious-deagostini-img_20190303_164508.jpeg)
![[AUTO] Dodge Charger 70 R/T Fast and Furious - DeAgostini-img_20190303_165437.jpeg](https://www.modellismo.net/forum/attachments/statico-work-progress/321902d1551729787-auto-dodge-charger-70-r-t-fast-furious-deagostini-img_20190303_165437.jpeg)
![[AUTO] Dodge Charger 70 R/T Fast and Furious - DeAgostini-img_20190303_165807.jpeg](https://www.modellismo.net/forum/attachments/statico-work-progress/321903d1551729813-auto-dodge-charger-70-r-t-fast-furious-deagostini-img_20190303_165807.jpeg)
![[AUTO] Dodge Charger 70 R/T Fast and Furious - DeAgostini-img_20190303_165849.jpeg](https://www.modellismo.net/forum/attachments/statico-work-progress/321904d1551729835-auto-dodge-charger-70-r-t-fast-furious-deagostini-img_20190303_165849.jpeg)
![[AUTO] Dodge Charger 70 R/T Fast and Furious - DeAgostini-img_20190303_165900.jpeg](https://www.modellismo.net/forum/attachments/statico-work-progress/321905d1551729848-auto-dodge-charger-70-r-t-fast-furious-deagostini-img_20190303_165900.jpeg)
![[AUTO] Dodge Charger 70 R/T Fast and Furious - DeAgostini-img_20190303_165912.jpeg](https://www.modellismo.net/forum/attachments/statico-work-progress/321906d1551729859-auto-dodge-charger-70-r-t-fast-furious-deagostini-img_20190303_165912.jpeg)
![[AUTO] Dodge Charger 70 R/T Fast and Furious - DeAgostini-img_20190303_170026.jpeg](https://www.modellismo.net/forum/attachments/statico-work-progress/321907d1551729882-auto-dodge-charger-70-r-t-fast-furious-deagostini-img_20190303_170026.jpeg)
![[AUTO] Dodge Charger 70 R/T Fast and Furious - DeAgostini-img_20190303_170117.jpeg](https://www.modellismo.net/forum/attachments/statico-work-progress/321908d1551729919-auto-dodge-charger-70-r-t-fast-furious-deagostini-img_20190303_170117.jpeg)
![[AUTO] Dodge Charger 70 R/T Fast and Furious - DeAgostini-img_20190303_165641.jpeg](https://www.modellismo.net/forum/attachments/statico-work-progress/321909d1551729937-auto-dodge-charger-70-r-t-fast-furious-deagostini-img_20190303_165641.jpeg)
![[AUTO] Dodge Charger 70 R/T Fast and Furious - DeAgostini-img_20190303_170151.jpeg](https://www.modellismo.net/forum/attachments/statico-work-progress/321910d1551729961-auto-dodge-charger-70-r-t-fast-furious-deagostini-img_20190303_170151.jpeg)
![[AUTO] Dodge Charger 70 R/T Fast and Furious - DeAgostini-img_20190303_170347.jpeg](https://www.modellismo.net/forum/attachments/statico-work-progress/321911d1551729980-auto-dodge-charger-70-r-t-fast-furious-deagostini-img_20190303_170347.jpeg)
![[AUTO] Dodge Charger 70 R/T Fast and Furious - DeAgostini-img_20190303_171124.jpeg](https://www.modellismo.net/forum/attachments/statico-work-progress/321912d1551729994-auto-dodge-charger-70-r-t-fast-furious-deagostini-img_20190303_171124.jpeg)
![[AUTO] Dodge Charger 70 R/T Fast and Furious - DeAgostini-img_20190303_171206.jpeg](https://www.modellismo.net/forum/attachments/statico-work-progress/321913d1551730005-auto-dodge-charger-70-r-t-fast-furious-deagostini-img_20190303_171206.jpeg)
![[AUTO] Dodge Charger 70 R/T Fast and Furious - DeAgostini-img_20190303_171233.jpeg](https://www.modellismo.net/forum/attachments/statico-work-progress/321914d1551730016-auto-dodge-charger-70-r-t-fast-furious-deagostini-img_20190303_171233.jpeg)
![[AUTO] Dodge Charger 70 R/T Fast and Furious - DeAgostini-img_20190303_170736.jpeg](https://www.modellismo.net/forum/attachments/statico-work-progress/321940d1551730753-auto-dodge-charger-70-r-t-fast-furious-deagostini-img_20190303_170736.jpeg)
![[AUTO] Dodge Charger 70 R/T Fast and Furious - DeAgostini-img_20190303_170838.jpeg](https://www.modellismo.net/forum/attachments/statico-work-progress/321941d1551730765-auto-dodge-charger-70-r-t-fast-furious-deagostini-img_20190303_170838.jpeg)
![[AUTO] Dodge Charger 70 R/T Fast and Furious - DeAgostini-img_20190303_170842.jpeg](https://www.modellismo.net/forum/attachments/statico-work-progress/321942d1551730776-auto-dodge-charger-70-r-t-fast-furious-deagostini-img_20190303_170842.jpeg)
![[AUTO] Dodge Charger 70 R/T Fast and Furious - DeAgostini-img_20190303_170900.jpeg](https://www.modellismo.net/forum/attachments/statico-work-progress/321943d1551730789-auto-dodge-charger-70-r-t-fast-furious-deagostini-img_20190303_170900.jpeg)
![[AUTO] Dodge Charger 70 R/T Fast and Furious - DeAgostini-img_20190303_170942.jpeg](https://www.modellismo.net/forum/attachments/statico-work-progress/321944d1551730800-auto-dodge-charger-70-r-t-fast-furious-deagostini-img_20190303_170942.jpeg)
![[AUTO] Dodge Charger 70 R/T Fast and Furious - DeAgostini-img_20190303_171030.jpeg](https://www.modellismo.net/forum/attachments/statico-work-progress/321921d1551730353-auto-dodge-charger-70-r-t-fast-furious-deagostini-img_20190303_171030.jpeg)
![[AUTO] Dodge Charger 70 R/T Fast and Furious - DeAgostini-img_20190303_171037.jpeg](https://www.modellismo.net/forum/attachments/statico-work-progress/321923d1551730412-auto-dodge-charger-70-r-t-fast-furious-deagostini-img_20190303_171037.jpeg)
![[AUTO] Dodge Charger 70 R/T Fast and Furious - DeAgostini-img_20190303_171055.jpeg](https://www.modellismo.net/forum/attachments/statico-work-progress/321924d1551730433-auto-dodge-charger-70-r-t-fast-furious-deagostini-img_20190303_171055.jpeg)
![[AUTO] Dodge Charger 70 R/T Fast and Furious - DeAgostini-img_20190303_171246.jpeg](https://www.modellismo.net/forum/attachments/statico-work-progress/321922d1551730371-auto-dodge-charger-70-r-t-fast-furious-deagostini-img_20190303_171246.jpeg)
![[AUTO] Dodge Charger 70 R/T Fast and Furious - DeAgostini-img_20190303_171546.jpeg](https://www.modellismo.net/forum/attachments/statico-work-progress/321925d1551730450-auto-dodge-charger-70-r-t-fast-furious-deagostini-img_20190303_171546.jpeg)
![[AUTO] Dodge Charger 70 R/T Fast and Furious - DeAgostini-img_20190303_171919.jpeg](https://www.modellismo.net/forum/attachments/statico-work-progress/321926d1551730474-auto-dodge-charger-70-r-t-fast-furious-deagostini-img_20190303_171919.jpeg)
![[AUTO] Dodge Charger 70 R/T Fast and Furious - DeAgostini-img_20190303_171956.jpeg](https://www.modellismo.net/forum/attachments/statico-work-progress/321927d1551730484-auto-dodge-charger-70-r-t-fast-furious-deagostini-img_20190303_171956.jpeg)
![[AUTO] Dodge Charger 70 R/T Fast and Furious - DeAgostini-img_20190303_172051.jpeg](https://www.modellismo.net/forum/attachments/statico-work-progress/321928d1551730494-auto-dodge-charger-70-r-t-fast-furious-deagostini-img_20190303_172051.jpeg)
![[AUTO] Dodge Charger 70 R/T Fast and Furious - DeAgostini-img_20190303_172059.jpeg](https://www.modellismo.net/forum/attachments/statico-work-progress/321929d1551730504-auto-dodge-charger-70-r-t-fast-furious-deagostini-img_20190303_172059.jpeg)
![[AUTO] Dodge Charger 70 R/T Fast and Furious - DeAgostini-img_20190303_172111.jpeg](https://www.modellismo.net/forum/attachments/statico-work-progress/321930d1551730514-auto-dodge-charger-70-r-t-fast-furious-deagostini-img_20190303_172111.jpeg)
![[AUTO] Dodge Charger 70 R/T Fast and Furious - DeAgostini-img_20190303_172123.jpeg](https://www.modellismo.net/forum/attachments/statico-work-progress/321931d1551730525-auto-dodge-charger-70-r-t-fast-furious-deagostini-img_20190303_172123.jpeg)
![[AUTO] Dodge Charger 70 R/T Fast and Furious - DeAgostini-img_20190303_172209.jpeg](https://www.modellismo.net/forum/attachments/statico-work-progress/321932d1551730538-auto-dodge-charger-70-r-t-fast-furious-deagostini-img_20190303_172209.jpeg)
![[AUTO] Dodge Charger 70 R/T Fast and Furious - DeAgostini-img_20190303_172219.jpeg](https://www.modellismo.net/forum/attachments/statico-work-progress/321933d1551730552-auto-dodge-charger-70-r-t-fast-furious-deagostini-img_20190303_172219.jpeg)
![[AUTO] Dodge Charger 70 R/T Fast and Furious - DeAgostini-img_20190303_172233.jpeg](https://www.modellismo.net/forum/attachments/statico-work-progress/321934d1551730561-auto-dodge-charger-70-r-t-fast-furious-deagostini-img_20190303_172233.jpeg)
![[AUTO] Dodge Charger 70 R/T Fast and Furious - DeAgostini-img_20190303_172254.jpeg](https://www.modellismo.net/forum/attachments/statico-work-progress/321935d1551730573-auto-dodge-charger-70-r-t-fast-furious-deagostini-img_20190303_172254.jpeg)
![[AUTO] Dodge Charger 70 R/T Fast and Furious - DeAgostini-img_20190303_172324.jpeg](https://www.modellismo.net/forum/attachments/statico-work-progress/321936d1551730603-auto-dodge-charger-70-r-t-fast-furious-deagostini-img_20190303_172324.jpeg)
![[AUTO] Dodge Charger 70 R/T Fast and Furious - DeAgostini-img_20190303_172415.jpeg](https://www.modellismo.net/forum/attachments/statico-work-progress/321937d1551730643-auto-dodge-charger-70-r-t-fast-furious-deagostini-img_20190303_172415.jpeg)
![[AUTO] Dodge Charger 70 R/T Fast and Furious - DeAgostini-img_20190303_172428.jpeg](https://www.modellismo.net/forum/attachments/statico-work-progress/321938d1551730655-auto-dodge-charger-70-r-t-fast-furious-deagostini-img_20190303_172428.jpeg)
![[AUTO] Dodge Charger 70 R/T Fast and Furious - DeAgostini-img_20190303_172450.jpeg](https://www.modellismo.net/forum/attachments/statico-work-progress/321939d1551730672-auto-dodge-charger-70-r-t-fast-furious-deagostini-img_20190303_172450.jpeg)
![[AUTO] Dodge Charger 70 R/T Fast and Furious - DeAgostini-img_20190303_172514.jpeg](https://www.modellismo.net/forum/attachments/statico-work-progress/321945d1551730883-auto-dodge-charger-70-r-t-fast-furious-deagostini-img_20190303_172514.jpeg)
![[AUTO] Dodge Charger 70 R/T Fast and Furious - DeAgostini-img_20190303_172605.jpeg](https://www.modellismo.net/forum/attachments/statico-work-progress/321946d1551730963-auto-dodge-charger-70-r-t-fast-furious-deagostini-img_20190303_172605.jpeg)
![[AUTO] Dodge Charger 70 R/T Fast and Furious - DeAgostini-img_20190303_172532.jpeg](https://www.modellismo.net/forum/attachments/statico-work-progress/321947d1551730997-auto-dodge-charger-70-r-t-fast-furious-deagostini-img_20190303_172532.jpeg)
![[AUTO] Dodge Charger 70 R/T Fast and Furious - DeAgostini-img_20190303_172537.jpeg](https://www.modellismo.net/forum/attachments/statico-work-progress/321948d1551731013-auto-dodge-charger-70-r-t-fast-furious-deagostini-img_20190303_172537.jpeg)
![[AUTO] Dodge Charger 70 R/T Fast and Furious - DeAgostini-img_20190303_172557.jpeg](https://www.modellismo.net/forum/attachments/statico-work-progress/321949d1551731027-auto-dodge-charger-70-r-t-fast-furious-deagostini-img_20190303_172557.jpeg)

![[AUTO] Dodge Charger 70 R/T Fast and Furious - DeAgostini-i002077.jpeg](https://www.modellismo.net/forum/attachments/statico-work-progress/321957d1551773538-auto-dodge-charger-70-r-t-fast-furious-deagostini-i002077.jpeg)
![[AUTO] Dodge Charger 70 R/T Fast and Furious - DeAgostini-a394b127618ac0ab8eb719924a4c60aa.jpeg](https://www.modellismo.net/forum/attachments/statico-work-progress/321958d1551773925-auto-dodge-charger-70-r-t-fast-furious-deagostini-a394b127618ac0ab8eb719924a4c60aa.jpeg)