Fascicolo 66
Abbiamo gli accessori del serbatoio che per adesso non utilizzeremo
Quindi andiamo al 67
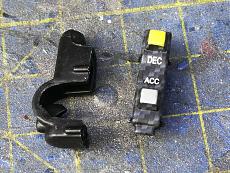
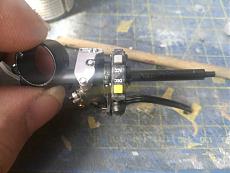
Abbiamo la struttura del comando frizione, regolatore frizione, interruttori, leva frizione raccordo
![[Moto] Yamaha YZR M1 VR46 - ModelSpace DeAgostini-img_20190512_135308.jpeg](https://www.modellismo.net/forum/attachments/statico-work-progress/327144d1558047170t-moto-yamaha-yzr-m1-vr46-modelspace-deagostini-img_20190512_135308.jpeg)
Iniziamo nel montare la vite di regolazione sul suo supporto
![[Moto] Yamaha YZR M1 VR46 - ModelSpace DeAgostini-img_20190512_135643.jpeg](https://www.modellismo.net/forum/attachments/statico-work-progress/327146d1558047200t-moto-yamaha-yzr-m1-vr46-modelspace-deagostini-img_20190512_135643.jpeg)
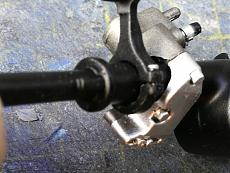
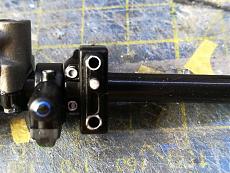
Ora montiamo il supporto sulla struttura principale chiudendolo dall'altra parte con la sua controparte
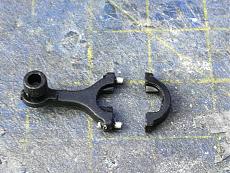
![[Moto] Yamaha YZR M1 VR46 - ModelSpace DeAgostini-img_20190512_140231.jpeg](https://www.modellismo.net/forum/attachments/statico-work-progress/327149d1558047278t-moto-yamaha-yzr-m1-vr46-modelspace-deagostini-img_20190512_140231.jpeg)
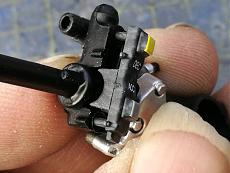
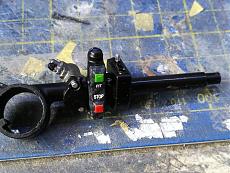
Anche l'interruttore "molto bello" va montato sulla struttura principale con la sua controparte
![[Moto] Yamaha YZR M1 VR46 - ModelSpace DeAgostini-img_20190512_140620.jpeg](https://www.modellismo.net/forum/attachments/statico-work-progress/327152d1558047323t-moto-yamaha-yzr-m1-vr46-modelspace-deagostini-img_20190512_140620.jpeg)
Inseriamo dall'altro lato la piccola levetta nei suoi fori, ed il raccordo al suo posto
![[Moto] Yamaha YZR M1 VR46 - ModelSpace DeAgostini-img_20190512_141342.jpeg](https://www.modellismo.net/forum/attachments/statico-work-progress/327155d1558047381t-moto-yamaha-yzr-m1-vr46-modelspace-deagostini-img_20190512_141342.jpeg)
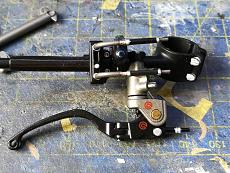
In fine la leva della frizione. Molto ben fatta e dettagliata, funziona davvero.
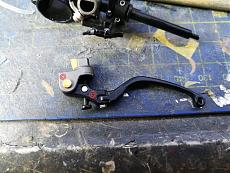
![[Moto] Yamaha YZR M1 VR46 - ModelSpace DeAgostini-img_20190512_135401.jpeg](https://www.modellismo.net/forum/attachments/statico-work-progress/327157d1558047453t-moto-yamaha-yzr-m1-vr46-modelspace-deagostini-img_20190512_135401.jpeg)
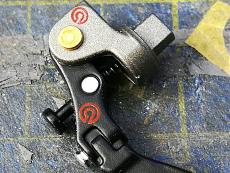
Ovviamente anche qui un po' di rifiniture per non avere tinte piatte
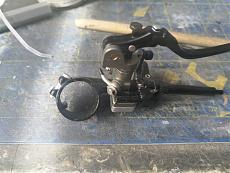
![[Moto] Yamaha YZR M1 VR46 - ModelSpace DeAgostini-img_20190512_153718.jpeg](https://www.modellismo.net/forum/attachments/statico-work-progress/327159d1558047499t-moto-yamaha-yzr-m1-vr46-modelspace-deagostini-img_20190512_153718.jpeg)
Passiamo al 68
Qui abbiamo la struttura del comando del gas, altri interruttori, la leva del freno anteriore, tubicini e raccordi
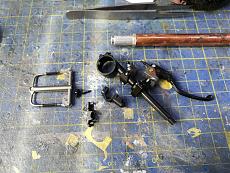
![[Moto] Yamaha YZR M1 VR46 - ModelSpace DeAgostini-img_20190512_154550.jpeg](https://www.modellismo.net/forum/attachments/statico-work-progress/327160d1558047633t-moto-yamaha-yzr-m1-vr46-modelspace-deagostini-img_20190512_154550.jpeg)
Montiamo, come prima, la scatoletta degli interruttori
![[Moto] Yamaha YZR M1 VR46 - ModelSpace DeAgostini-img_20190512_154801.jpeg](https://www.modellismo.net/forum/attachments/statico-work-progress/327162d1558047673t-moto-yamaha-yzr-m1-vr46-modelspace-deagostini-img_20190512_154801.jpeg)
Sul comando del gas montiamo i due tubicini rigidi
![[Moto] Yamaha YZR M1 VR46 - ModelSpace DeAgostini-img_20190512_155446.jpeg](https://www.modellismo.net/forum/attachments/statico-work-progress/327165d1558047730t-moto-yamaha-yzr-m1-vr46-modelspace-deagostini-img_20190512_155446.jpeg)
Montiamo il raccordo e la leva del freno anteriore
![[Moto] Yamaha YZR M1 VR46 - ModelSpace DeAgostini-img_20190512_160715.jpeg](https://www.modellismo.net/forum/attachments/statico-work-progress/327168d1558047796t-moto-yamaha-yzr-m1-vr46-modelspace-deagostini-img_20190512_160715.jpeg)
Ravvivato colorando qualche particolare
![[Moto] Yamaha YZR M1 VR46 - ModelSpace DeAgostini-img_20190512_160733.jpeg](https://www.modellismo.net/forum/attachments/statico-work-progress/327170d1558047837t-moto-yamaha-yzr-m1-vr46-modelspace-deagostini-img_20190512_160733.jpeg)
Risultato finale
![[Moto] Yamaha YZR M1 VR46 - ModelSpace DeAgostini-img_20190512_160806.jpeg](https://www.modellismo.net/forum/attachments/statico-work-progress/327171d1558047854t-moto-yamaha-yzr-m1-vr46-modelspace-deagostini-img_20190512_160806.jpeg)
Continua...
Stay Tuned